Create a SadConsole project with Visual Studio
Learn how to create a new project based on SadConsole using .NET 8.0 (or later) and Visual Studio.
Before you start, install the SadConsole project templates. The Create a SadConsole project with the templates article walks you through the installation. Follow those instructions and then come back here.
Prerequisites
Section titled “Prerequisites”-
During installation, select the .NET Desktop development workload.
-
Install the SadConsole templates with the dotnet command:
dotnet new install SadConsole.Templates. For more information on how to install the templates, see Create a SadConsole project with the templates.
Create a new project
Section titled “Create a new project”Start Visual Studio.
-
In the Create a new project dialog, type
sadconsoleinto the search box and select the SadConsole Game (MonoGame) project template.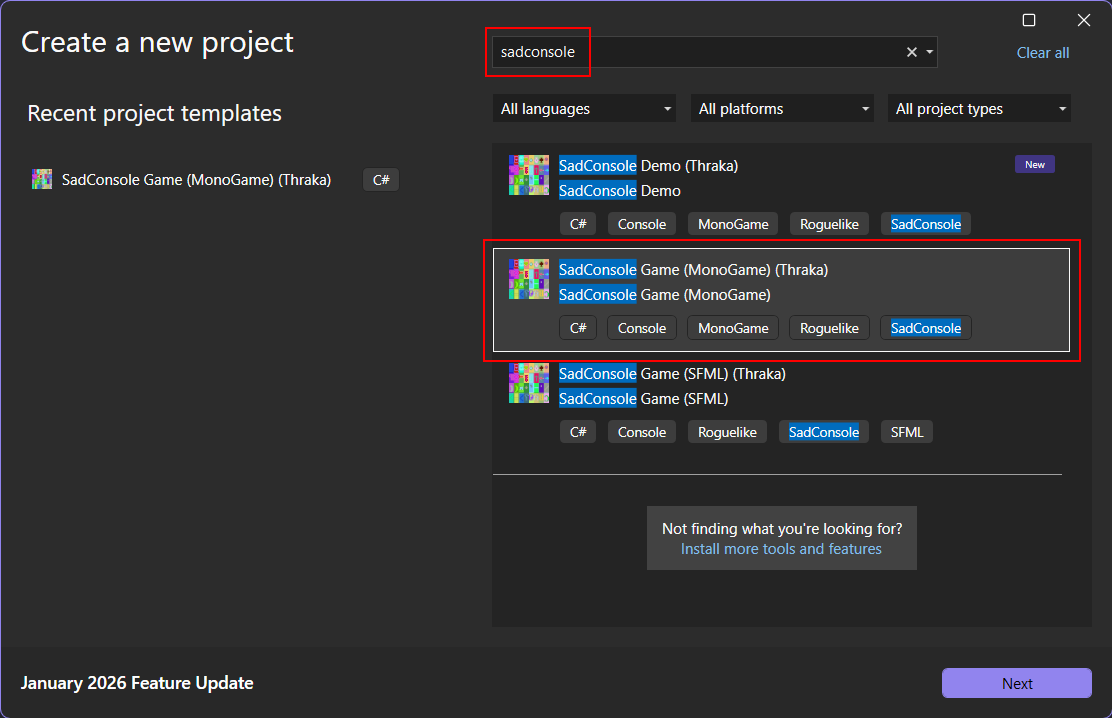
The SadConsole Game (MonoGame) template creates a SadConsole game that uses MonoGame, and the SadConsole Game (SFML) template creates a game that uses SFML.
MonoGame and SFML are the backend renderers for SadConsole. In general, your SadConsole code works the same regardless of which renderer you choose. However, as your game grows in complexity, the choice of renderer becomes important. Use the MonoGame renderer because it has the following benefits:
- It offers easier cross-platform targeting.
- It supports 3D rendering, such as models and scenes.
- It’s built for .NET development.
SFML is cross-platform but requires more work to set up.
-
Press Next and then set the Project name to
SadConsoleGameand choose a Location on your computer to save the project.
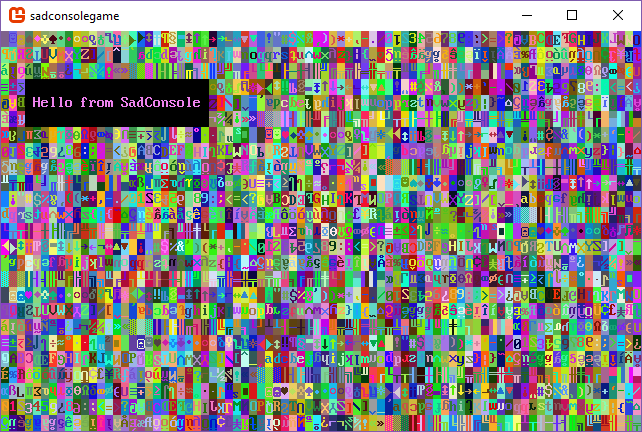
Congratulations, you have a new project! Press F5 to run the game:
Create a project without a template
Section titled “Create a project without a template”You can also create a project without using the SadConsole templates. It’s straightforward.
-
Create a new Console App with either C# or VB.NET.
-
Press Next and follow the wizard to set the name of the project to
SadConsoleGame. -
Set the Location of your project code, and then press Next.
-
Set the Framework to .NET 8.0 or later.
-
Press Create.
-
Next, add the NuGet SadConsole MonoGame renderer package to the project.
- In the Solution Explorer, right-click on the project and select Manage NuGet Packages. This displays the NuGet package manager.
- Search for SadConsole and install the
SadConsole.Host.MonoGamepackage. - Search for MonoGame.Framework and install the
MonoGame.Framework.DesktopGLpackage.
Congratulations, you have all the required libraries to start creating a SadConsole game!
Configure the startup code
Section titled “Configure the startup code”Make a small change to the project file, and then update the auto-generated startup code.
Project file
Section titled “Project file”Open the project file, which is probably named SadConsoleGame.csproj. Replace the content with the following snippet:
<Project Sdk="Microsoft.NET.Sdk">
  <PropertyGroup>    <OutputType>WinExe</OutputType>    <TargetFramework>net8.0</TargetFramework>    <ImplicitUsings>enable</ImplicitUsings>    <Nullable>enable</Nullable>    <RootNamespace>SadConsoleGame</RootNamespace>  </PropertyGroup>
  <ItemGroup>    <Using Include="SadConsole" />    <Using Include="SadRogue.Primitives" />    <Using Include="SadConsole.Console" Alias="Console" />  </ItemGroup>
  <ItemGroup>    <PackageReference Include="MonoGame.Framework.DesktopGL" Version="3.8.3" />    <PackageReference Include="SadConsole.Host.MonoGame" Version="10.6.0" />    <PackageReference Include="SadConsole.Extended" Version="10.6.0" />  </ItemGroup>
</Project>
Root screen
Section titled “Root screen”The startup code will designate a startup object, known as the “root screen.” That object is a ScreenObject type, or any type derived from ScreenObject such as ScreenSurface. Create a new root screen:
-
In the Solution Explorer window, right-click on the project and select Add > Class.
-
Name the class
RootScreenand create it. The code editor opens. -
Replace the generated code with the following:
class RootScreen : ScreenObject{private ScreenSurface _mainSurface;public RootScreen(){// Create a surface that's the same size as the screen._mainSurface = new ScreenSurface(Game.Instance.ScreenCellsX, Game.Instance.ScreenCellsY);// Fill the surface with random characters and colors_mainSurface.FillWithRandomGarbage(_mainSurface.Font);// Create a rectangle box that has a violet foreground and black background.// Characters are reset to 0 and mirroring is set to none._mainSurface.Fill(new Rectangle(3, 3, 23, 3), Color.Violet, Color.Black, 0, Mirror.None);// Print some text at (4, 4) using the foreground and background already there (violet and black)_mainSurface.Print(4, 4, "Hello from SadConsole");// Add _mainSurface as a child object of this one. This object, RootScreen, is a simple object// and doesn't display anything itself. Since _mainSurface is going to be a child of it, _mainSurface// will be displayed when RootScreen is either the starting screen or somewhere in that collection of objects.Children.Add(_mainSurface);}}
Program startup code
Section titled “Program startup code”-
In the Solution Explorer window, double-click Program.cs. This opens the code editor.
-
Replace the code with the following:
using SadConsole.Configuration;Settings.WindowTitle = "My SadConsole Game";Builder.GetBuilder().SetWindowSizeInCells(90, 30).SetStartingScreen<RootScreen>().IsStartingScreenFocused(true).ConfigureFonts(true).Run(); -
Press the F5 key to run your SadConsole program. You should be presented with the following screen:
Next steps
Section titled “Next steps”Now that you have the project created and working, check out the Create your first SadConsole game tutorial series.